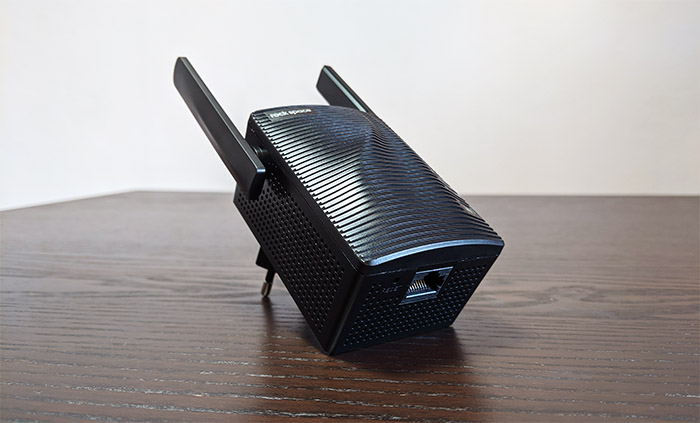
So you have a Rockspace WiFi extender at your home. You would have seen the lights on your extender. These lights on the Rockspace WiFi extender are there for a purpose. They represent the current working status of your device. Are the lights on your extender keep on flashing? Something is wrong with it. Let us help you fix it in a jiffy with some effective solutions. Walk through this post to know what could have happened that your extender’s lights are flashing. Also, know what you should do now to get rid of these lights and turn them stable.
How to Fix Rockspace Extender Flashing Lights?
The various lights that you will see on your Rockspace extender are the Power light, WPS light and the signal light. If any of these lights is flickering then use the fixes given ahead to resolve the issue:
-
Restart Extender
Without wasting any further minutes and without giving a second thought, power off your extender. Also, remove the power cable from its respective outlet. After about 5 minutes, turn on the extender once again. Are the lights still flashing? Try the next step.
-
Power Cycle Network
You should power cycle the whole home network now in case the lights keep on flashing. The whole network can be power cycled by turning off the router and the extender and removing all the cables connected to the extender. After some time, establish the connections again in the same way and switch the devices on.
-
Examine Electricity Supply
There is a possibility that there are fluctuations in the power supply to the extender and hence it can’t boot up properly. This can cause the lights to flash continuously. We suggest you examine the power socket into which the power adapter of the extender is plugged. Do you find it damaged? Or perhaps the power cable is loosely plugged in.
Use an alternative socket and plug the cable tightly. You also have the option of using a UPS if the power supply is fluctuating.
-
Fix the Faulty Connections
Look like the connections are faulty which is why you are facing the issue. You should take a good look at all the cables and wires connected to the Rockspace WiFi extender. If any of them is damaged or has cuts on it, then either get it fixed or you can replace it with a new one.
Also, you should be sure that the cable connected is well in place. It mustn’t be loose. Besides do check that the ports in use are clean and not damaged.
We suggest you remove the Ethernet cable and clean the ports using a soft brush and then make the connection once again.
-
Reset the Extender
Finally when you are done trying all the above given hacks and you are still stuck with the flashing lights issue then you should reset your range extender. You can reset the extender by using the Reset button located on it. Press the button and you are done resetting it. It is running on the default values now.
Set up your extender once again now. Use the user guide to learn how to set up Rockspace WiFi extender.
The Closing Note
We are sure after the extender setup is completed you will no longer see the lights flashing on your Rockspace wireless range extender. Make sure that the connections that you have made are all intact and that the extender receives consistent electric power from its outlet. Apart from this, keeping the firmware on your extender updated will help it stay away from issues. You need to access the Rockspace WiFi extender login page on a web browser and do the login. After that, you can update the firmware on your extender.


1 Comment
losartan hydrochlorothiazide